

Charms are additional bonuses that are unlocked with  charm points. The selected bonus can only be assigned to one monster at a time, provided that we have completed this monster in our bestiary. For a fee ( in the form of gold
  ), you can cancel the current assignment, which allows you to perform this treatment again.
charm points. The selected bonus can only be assigned to one monster at a time, provided that we have completed this monster in our bestiary. For a fee ( in the form of gold
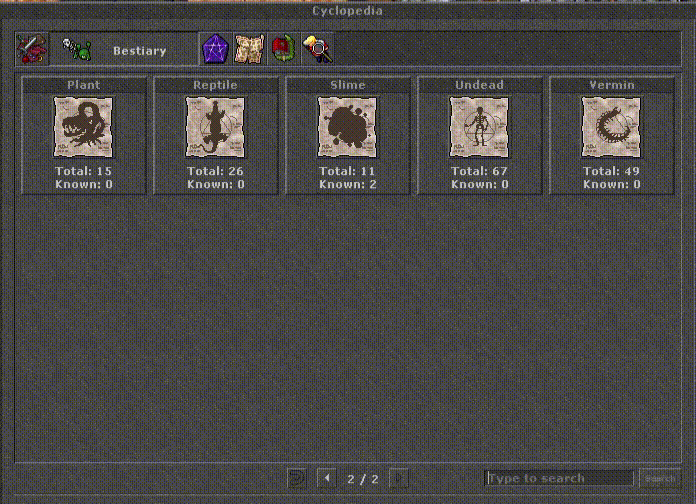
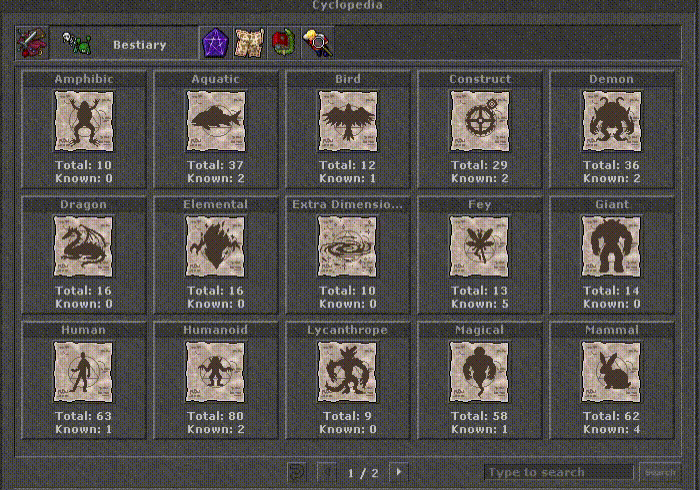
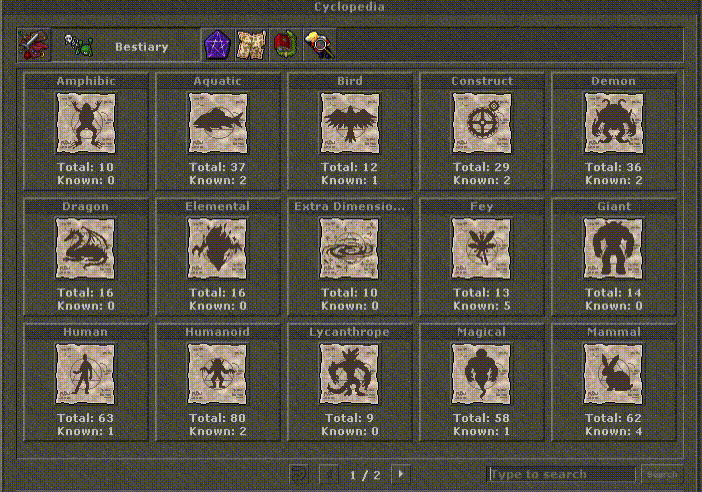
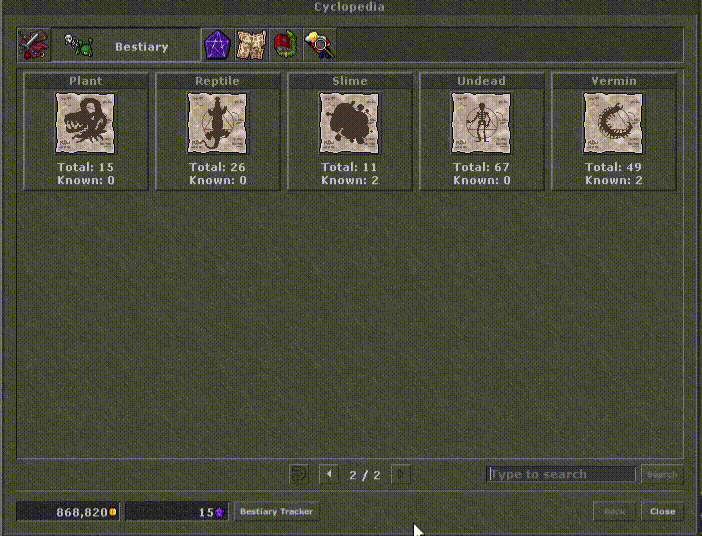
The bestiary ( ) is a list of monsters that we meet in the game. Our bestiary, which is in the cyclopedia (
 ), at the beginning, after entering any category (there are 20 of them), it shows us only black “shadows” of monsters because we have not even killed one of a given type yet. By killing a given number of monsters, we get more information about them.

| MONSTER | TO KILL | AMOUNT OF POINTS |
|---|---|---|
 |
5 |
50 |
| MONSTER | TO KILL | AMOUNT OF POINTS |
|---|---|---|
 |
5 |
50 |
| MONSTER | TO KILL | AMOUNT OF POINTS |
|---|---|---|
 |
5 |
50 |
| MONSTER | TO KILL | AMOUNT OF POINTS |
|---|---|---|
 |
5 |
50 |
| MONSTER | TO KILL | AMOUNT OF POINTS |
|---|---|---|
 |
5 |
50 |
| MONSTER | TO KILL | AMOUNT OF POINTS |
|---|---|---|
 |
5 |
50 |

| MONSTER | TO KILL | AMOUNT OF POINTS |
|---|---|---|
 |
5 |
50 |
| MONSTER | TO KILL | AMOUNT OF POINTS |
|---|---|---|
 |
5 |
50 |
| MONSTER | TO KILL | AMOUNT OF POINTS |
|---|---|---|
 |
5 |
50 |
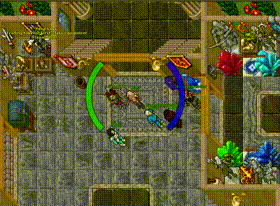
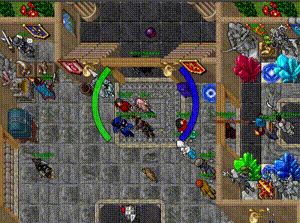
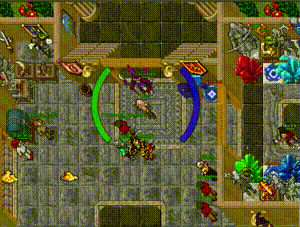
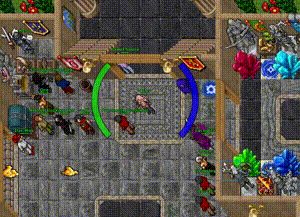
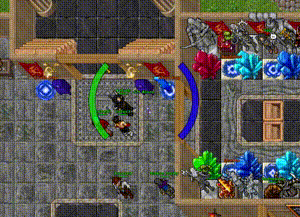
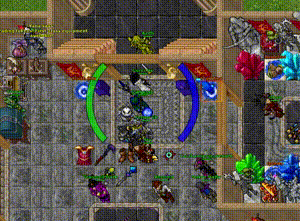
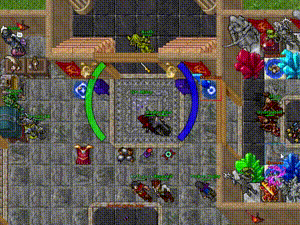
[ ✧ ] Its place of occurrence is the Flying Book teleport, which can be found in the Custom Monsters section. A one-time ticket will cost us one Vampire Lord Token. When we enter the appropriate teleport, go to the stairs leading to the upper floor and start heading north, there, behind the breach in the wall, there will be one of the four monsters we are looking for. The rest are behind the gaps on the eastern side of the map. A gif showing the route to one of them is on the right.
| MONSTER | TO KILL | AMOUNT OF POINTS |
|---|---|---|
 |
5 |
50 |
| MONSTER | TO KILL | AMOUNT OF POINTS |
|---|---|---|
 |
5 |
30 |
| MONSTER | TO KILL | AMOUNT OF POINTS |
|---|---|---|
 |
5 |
30 |
| MONSTER | TO KILL | AMOUNT OF POINTS |
|---|---|---|
 |
5 |
30 |
| MONSTER | TO KILL | AMOUNT OF POINTS |
|---|---|---|
 |
5 |
50 |

| MONSTER | TO KILL | AMOUNT OF POINTS |
|---|---|---|
 |
5 |
50 |
| NAME | TYPE | DESCRIPTION | COST | ||
|---|---|---|---|---|---|

Adrenaline Burst |
Defensive |
Bursts of adrenaline enhance your reflexes with a certain chance after you get hit and let you move faster for 10 seconds.
|
500 |
||

Cleanse |
Defensive |
Cleanses you from within with a certain chance after you get hit and removes one random active negative status effect and temporarily makes you immune against it.
|
700 |
||

Dodge |
Defensive |
Dodges an attack with a certain chance without taking any damage at all.
|
600 |
||

Numb |
Defensive |
Numbs the creature with a certain chance after its attack and paralyses the creature for 10 seconds.
|
500 |
||
 Parry |
Defensive |
Any damage taken is reflected to the aggressor with a certain chance.
|
500 |
||

Bless |
Passive |
Blesses you and reduces skill and xp loss by 10% when killed by the chosen creature.
|
800 |
||

Gut |
Passive |
Gutting the creature yields 20% more creature products.
|
800 |
||

Low Blow |
Passive |
Adds 8% critical hit chance to attacks with critical hit weapons.
|
1000 |
||

Scavenge |
Passive |
Enhances your chances to successfully skin/dust a skinnable/dustable creature.
|
800 |
||

Vampiric Embrace |
Passive |
Adds 4% Life Leech to attacks if wearing equipment that provides life leech (vampirism).
|
800 |
||

Void's Call |
Passive |
Adds 2% Mana Leech to attacks if wearing equipment that provides mana leech (void).
|
800 |
||
 Cripple |
Offensive |
Cripples the creature with a certain chance and paralyses it for 10 seconds.
|
500 |
||
 Curse |
Offensive |
Triggers on a creature with a certain chance and deals 5% of its initial hit points as Death Damage once.
|
500 |
||
 Divine Wrath |
Offensive |
Trigger on a certain creature and deals 5% of its initial hit points as Holy Damage once.
|
500 |
||
 Enflame |
Offensive |
Triggers on a creature with a certain chance and deals 5% of its initial hit points as Fire Damage once.
|
500 |
||
 Freeze |
Offensive |
Triggers on a creature with a certain chance and deals 5% of its initial hit points as Ice Damage once.
|
500 |
||
 Poison |
Offensive |
Triggers on a creature with a certain chance and deals 5% of its initial hit points as Earth Damage once.
|
500 |
||
 Wound |
Offensive |
Triggers on a creature with a certain chance and deals 5% of its initial hit points as Physical Damage once.
|
500 |
||
 Zap |
Offensive |
Triggers on a creature with a certain chance and deals 5% of its initial hit points as Energy Damage once.
|
500 |
||
It is more recommended to use offensive charms on the server. When choosing the first charm, we should mainly focus on where we will be leveling and whether we will do it solo or in a team. The following are only a recommendation for less determined people, not a command.
on the server. When choosing the first charm, we should mainly focus on where we will be leveling and whether we will do it solo or in a team. The following are only a recommendation for less determined people, not a command.
When choosing an offensive charm, we should take into account the sensitivity of monsters on which we exp or intend to exp. For Druids, it is recommended that you take the Freeze charm first. Our next choice might be Curse , for example.
charm first. Our next choice might be Curse , for example.
When choosing an offensive charm, we should take into account the sensitivity of monsters on which we exp or intend to exp. In the case of a knight, our first charm depends on whether we are going solo to hunting grounds dedicated to our profession, or whether we are going to “post-Katameron” spots in the team. Wound is recommended in the first case, and Freeze in the second. Our next selection may, for example, be a previously unselected charm or a Curse .
is recommended in the first case, and Freeze in the second. Our next selection may, for example, be a previously unselected charm or a Curse .
When choosing an offensive charm, we should take into account the sensitivity of monsters on which we exp or intend to exp. In the case of a knight, our first charm depends on whether we are going solo to hunting grounds dedicated to our profession, or whether we are going to “post-Katameron” spots in the team. Divine Wrath is recommended in the first case, and Freeze in the second. Our next selection may, for example, be a previously unselected charm, Curse or Wound .
is recommended in the first case, and Freeze in the second. Our next selection may, for example, be a previously unselected charm, Curse or Wound .
When choosing an offensive charm, we should take into account the sensitivity of monsters on which we exp or intend to exp. In the case of a knight, our first charm depends on whether we are going solo to hunting grounds dedicated to our profession, or whether we are going to “post-Katameron” spots in the team. Enflame is recommended in the first case and Freeze in the second. Our next selection may, for example, be a previously unselected charm or a Curse .
is recommended in the first case and Freeze in the second. Our next selection may, for example, be a previously unselected charm or a Curse .